How to Make Bakelite Jewellery
Things needed:
Instructions
1.Prepare jewelry or rubber candy molds. Clean them with mild soap and water and dry thoroughly. Non-silicone molds should be sprayed with a solution called "quick release" that works much like spraying oil in a cake pan—allowing the end product to come out of the mold.
2.Mix plastic resin as directed by the manufacturer. Polyurethane resin, or casting resin, is sold in liquid form at craft supply stores. Use small paper cups and wooden stir sticks to mix the resin with the hardeningagent. Each manufacturer requires different ratios, so follow the instructions exactly to get the best results.
3.Add dye or colorant to the resin, stirring just enough to incorporate color. Over-mixing causes the resin to set more quickly. Resin can be purchased in different base colors, but dries semi-clear. Purchase a resin that dries crystal clear to get the truest color from the dyes.
4.Pour resin into molds. Almost anything can be used as a mold, but the easiest to use are candy and special silicone jewelry molds that are sold at craft and baking supply stores. Some bubbles may remain in the resin after filling the molds. Place a heat gun a few inches above the resin to smooth out the bubbles. This should only take a few seconds and is best done right after the resin is poured.
5.Cure the resin. Resin is cured and ready to release from the molds after it is no longer tacky. Speed up the curing process by placing the molds under a low-watt lamp.
6.Release resin from the molds. Most molds are made from a rubbery compound that allows for easy release. Place molds in the freezer for a short time to contract the resin for easier removal.
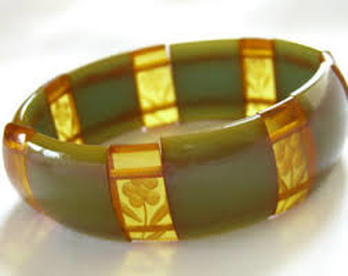
7.Use resin pieces to form brooches, earrings, bracelets and other jewelry. Glue resin pieces to pre-made pin backs, earring posts and other findings for handmade Bakelite-style jewelry.
- Polyurethane casting resin (like Alumilite)
- Resin dyes or tints Jewelry or rubber candy molds
- Safety goggles
- Small paper cups
- Heat gun
- Gloves
- Stir sticks
- Hot glue gun
- Glue sticks
- Jewelry findings
Instructions
1.Prepare jewelry or rubber candy molds. Clean them with mild soap and water and dry thoroughly. Non-silicone molds should be sprayed with a solution called "quick release" that works much like spraying oil in a cake pan—allowing the end product to come out of the mold.
2.Mix plastic resin as directed by the manufacturer. Polyurethane resin, or casting resin, is sold in liquid form at craft supply stores. Use small paper cups and wooden stir sticks to mix the resin with the hardeningagent. Each manufacturer requires different ratios, so follow the instructions exactly to get the best results.
3.Add dye or colorant to the resin, stirring just enough to incorporate color. Over-mixing causes the resin to set more quickly. Resin can be purchased in different base colors, but dries semi-clear. Purchase a resin that dries crystal clear to get the truest color from the dyes.
4.Pour resin into molds. Almost anything can be used as a mold, but the easiest to use are candy and special silicone jewelry molds that are sold at craft and baking supply stores. Some bubbles may remain in the resin after filling the molds. Place a heat gun a few inches above the resin to smooth out the bubbles. This should only take a few seconds and is best done right after the resin is poured.
5.Cure the resin. Resin is cured and ready to release from the molds after it is no longer tacky. Speed up the curing process by placing the molds under a low-watt lamp.
6.Release resin from the molds. Most molds are made from a rubbery compound that allows for easy release. Place molds in the freezer for a short time to contract the resin for easier removal.
7.Use resin pieces to form brooches, earrings, bracelets and other jewelry. Glue resin pieces to pre-made pin backs, earring posts and other findings for handmade Bakelite-style jewelry.
